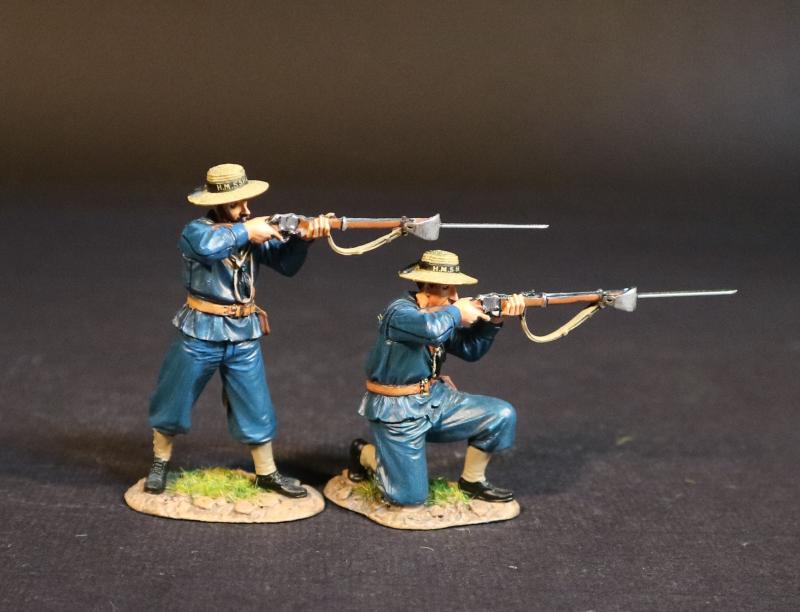
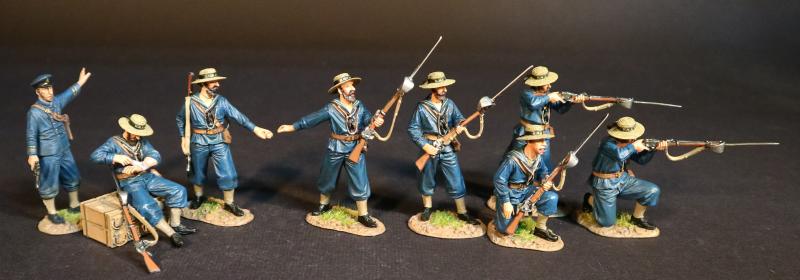
Two Sailors (standing firing; kneeling firing), British Naval Brigade, H. M. S. Shah, The Eshowe Relief Column, The Battle of Gingindhlovu, 2nd April 1879, The Anglo Zulu War--two figures
$99.00
Item Number: GGNV-02
Two Sailors (standing firing; kneeling firing), British Naval Brigade, H. M. S. Shah, The Eshowe Relief Column, The Battle of Gingindhlovu, 2nd April 1879, The Anglo Zulu War--two figures
THE ANGLO ZULU WAR
THE BATTLE OF GINGINDHLOVU, 2nd APRIL 1879.
The Battle of Gingindhlovu was fought on 2nd April 1879 between a British relief column sent to break the siege at Eshowe, and a Zulu impi of king Cetshwayo. The British soldier would refer to it as the Battle of “GIN GIN I LOVE YOU”.
Charles Pearson had led No.1 column of the British invasion force across the Tugela River to establish an advanced base at Eshowe. Having set up a base at a deserted Norwegian mission station, the British found themselves besieged. A relief column was organized by Lord Chelmsford and departed Fort Tenedos on 29th March to relieve the garrison. Chelmsford’s relief force comprised 3,390 Europeans, and 2,280 Africans. Lord Chelmsford ensured his men spent much time laagering and entrenching their camp at the end of each day, and kept ammunition boxes open and at the ready. Although this was slow progress, Pearson’s observers at Eshowe were able to see the relief column entrenched on the south bank of the Neyzane, on the evening of the 1st April.
The Zulu impi was composed of 12,000 warriors, some of whom were Isandlwana veterans drawn from regiments in the main Zulu army, while the remainder were warriors who lived in the vicinity of Eshowe. Many of the Zulu commanders wanted to attack the relief column that night, but Prince Dabulamanzi KaMpande, who was half brother to king Cetshwayo and commander of the impi’s right wing, convinced them to wait until morning.
At dawn on 2 April 1879, the morning sun revealed muddy ground and a heavy mist. Chelmsford had decided after hearing Dunn's report to not continue on toward Eshowe early the next morning. Instead, he would deploy units of the Natal Native Contingent to feel for the Zulus. As the NNC were preparing to advance, shots were heard from the night pickets still on duty. The impi was advancing; the main force split into two columns before crossing the Ineyzane and assuming the "chest and horns" formation. The left horn sharply curved to the right to assault the laager's north-east corner, while the "chest" gently curved toward the north face of the laager. Another force passed Misi Hill and approached the laager, forming the impi’s right horn.
The buffalo formation came in at a run on the three sides of the laager as Chelmsford had wanted; at a range of 300–400 yd (270–370 m) the British infantry opened fire, supported by the Gatling guns and rockets.
Zulu marksmen caused a few casualties within the laager, but the defenders kept the Zulus at bay.
Although the Zulu regiments made persistent rushes to get within stabbing range, their charges lacked the drive and spirit that had pushed them forward at Isandlwana and Rorke’s Drift. The only zulu to reach the laager was a ten year old boy, who was immediately taken prisoner by members of the naval brigade and later served as a kind of mascot on their ship, Boadicea.
Around 7am, the main impi attack had been halted. Chelmsford ordered his mounted troops to attack, followed by the NNC.
Many zulu were killed as they withdrew.
Chelmsford had begun to avenge the Imperial dead of Isandlwana, but for the present, he was content to relieve Pearson and return to Natal.
THE NAVAL BRIGADE
Naval Brigade landing parties were a feature of Victorian campaigns and the Zulu War was no exception. In the aftermath of Isandlwana, HMS Shah was diverted from a homeward journey and landed most of its ship’s complement at Durban, a total of 378 men.
On 20th March, HMS Boadicea also landed a brigade of 10 officers and 218 men. About 100 Royal Marines were also included.
Two Brigades were formed for the relief column for Eshowe. The artillery for this force came entirely from the Naval Brigades. The allocation was as follows:
- 1st Brigade, included two 9pdrs, two 24-pounder Rocket Tubes, and one Gatling gun.
- 2nd Brigade, included two 24-pounder Rocket Tubes and one Gatling Gun.
The 9-pounders, Rockets, and Gatlings were positioned at the corners of the British enclosure. The Gatling Guns opened fire at 1,000m, and as the Zulus approached, they were engaged by all the artillery weapons.
Naval attachments brought with them their own artillery, including Gatlings, which were both used to good effect at Gingindhlovu.
The Naval Brigade Gatlings were apparently mounted on different carriages to their army counterparts, these being narrower and minus the axle-tree boxes.
There were also a number of Hale’s rockets. These were the heavy 24-pounders, fired from tubes rather than the army’s troughs. These tubes were originally designed to be bracketed onto the side of a ship, but by 1879, a modified version replaced the bracket with a tripod for land service, and it was this “Fisher” tube which was the type used in Zululand.
The navy also landed some of its field guns. At Gingindhlovu the naval Brigade had two 9-pounder guns.
A drawing of the relief column, shows the Naval Brigade with a 9-pounder which does not appear to be of the standard Army pattern. At this time, there were a great deal of experiments carried out on artillery pieces, and it is possible that the Navy were given some of these “experimental” guns for their landing parties. It was a time of change in Britain’s artillery.
Since no plans or other drawings exist of these experimental guns, I have decided to produce the standard Royal Artillery 9-pounder.
Due to be released in OCTOMBER 2025.

